
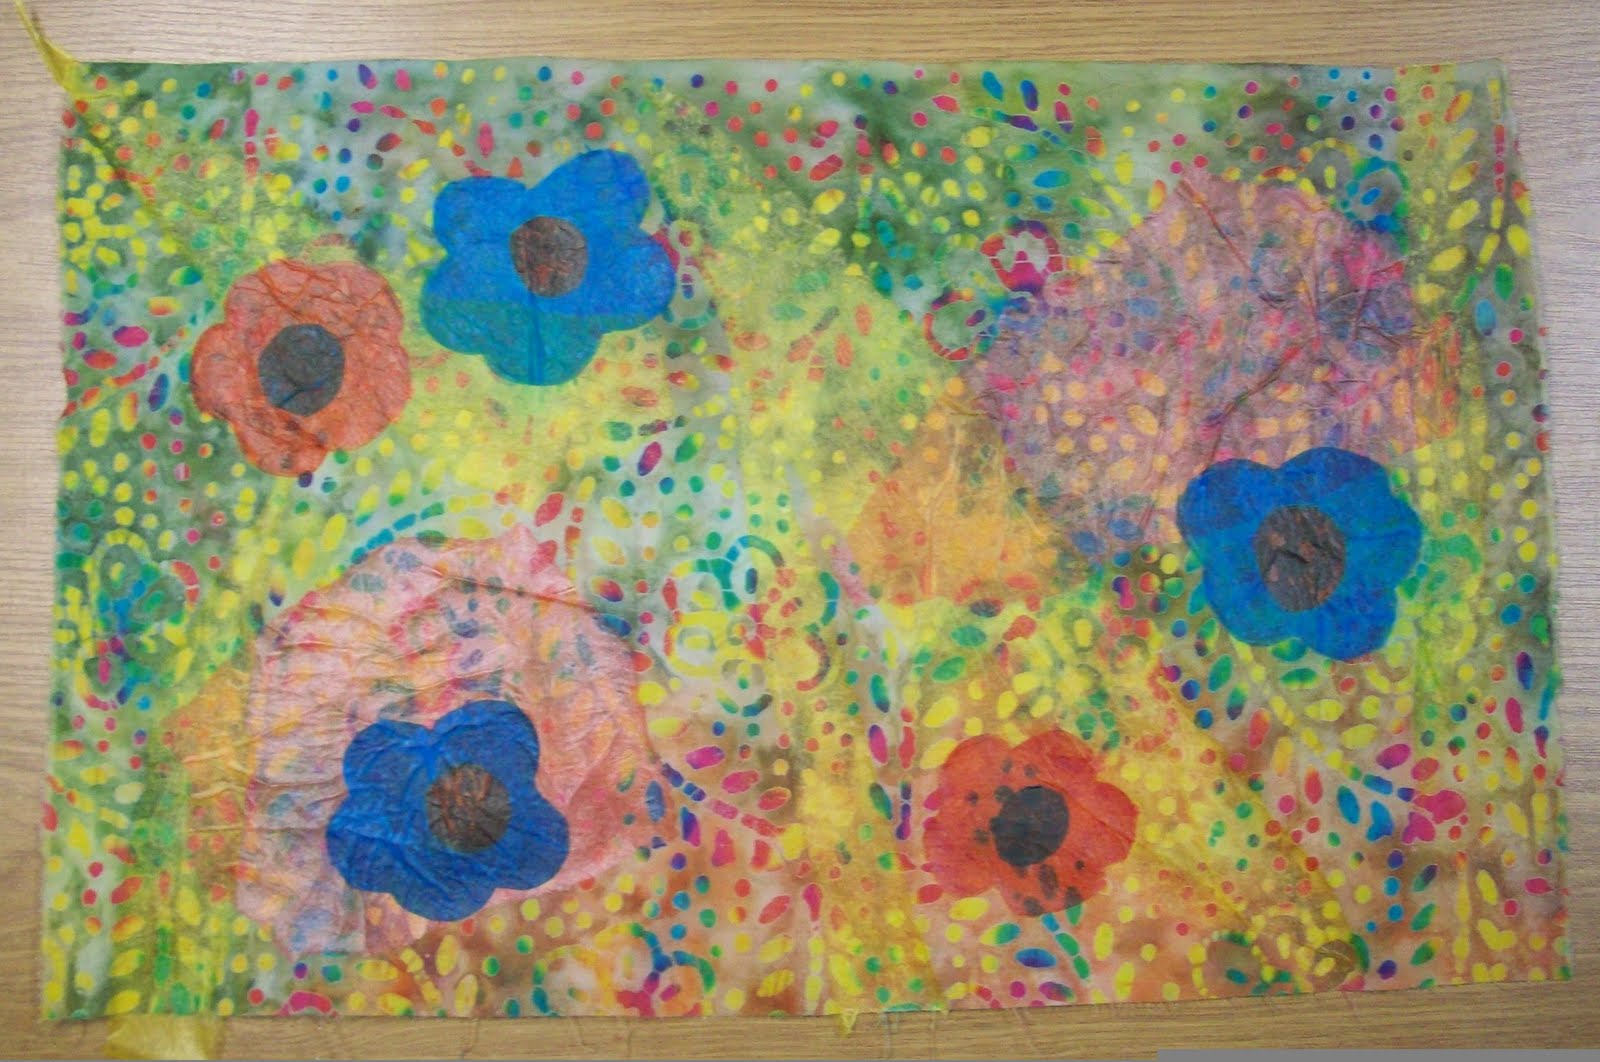

Robin Koehler (Nestlings by Robin) gave a demo to our art quilt group. First, lay a piece of freezer paper shiny side up on the table. Lay a piece of muslin on top of that. Mix white glue and water 1/2 and 1/2. With a sponge brush, wet the entire fabric with the glue mixture. Then add tissue paper pieces, cut or torn, layering and brushing with the glue so you have in essence "decoupaged" the tissue paper onto the muslin. It takes at least overnight to dry. Then you can peel the fabric from the freezer paper. The glue gives the fabric a remarkably tough surface with a sheen.
This time around, I used batiks and I did not cover the entire surface with tissue; I just made patterns. When the fabric was dry, I layered it with batting and plain fabric on the back, then machine quilting in simple stipple patterns. I planned ahead so that I had enough space to trim two 7" x 11" rectangles and four approx. 2" x 2" squares from each quilted piece.

I zig-zagged slightly fuzzy yarn around the edges of the rectangles, then folded up one end 4" and machine stitched the sides together. I folded down the flap 3" and added a button and yarn so that the "wallet" can be closed by wrapping the yarn around the button.

I used a double layer for the keyrings, zig-zagged tightly twice around, hammered a grommet into the corner, then added the key ring. Here is a close-up of the finished keyrings.

2 comments:
Key ring! How creative. I would not have thought "outside the box" like that.
This looks like a fun thing to try....stay tuned!
Post a Comment