
Tuesday, July 31, 2012
Sneaky Cat
Sales have been brisk today! One lady came in with a very old quilt that she hopes to restore. I was away from the desk while we looked for possible fabrics for the job. When we came back, this is what we found.
 The quilt was rescued from a garage floor and has not been laundered yet, so there wasn't anything that Baby could do to hurt it. It didn't take her more than a minute or two to find it and snuggle into it.
Annual Quilt Challenge
Each year, Cotton Fields Quilt Shop has a quilt challenge. The entries are displayed during our anniversary sale and shoppers are asked to vote for their favorite. Gift certificates are presented to first and second place. This year the theme was "Cotton Crazy" and the challenge kit contained fat quarters of three fabrics.


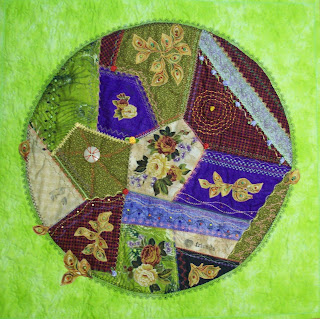


Here are this year's entries. I'm including a detail shot of each quilt also.
#1


#2


#3


#4


#5


#6


#7


#8


#9


It is obvious that these ladies put a lot of thought and effort into their lovely quilts. What a variety of ideas! Our eighth anniversary sale starts today and a week from now I will reveal the quilters' names and the names of the two winners (except that they're all winners, don't you think?)
Thursday, July 26, 2012
A Little Bit of Progress
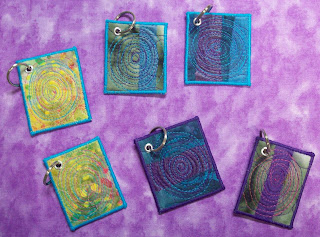
Last week, I decided to play around with the glue and tissue paper again. That little project is just about finished. I made six of the wallets that I've sold in the past to use as coupon holders.
 I have more finished key rings to show off, too. I MIGHT bead another one or two, it didn't take THAT long.
 This afternoon I decided that it was time to get back to the river challenge that will be displayed at the Pamlico River Quilters Guild meeting in September. I had a brainstorm about how to make the treetops in the distance. Plastic bags! I found a couple of green ones, then cut and scrunched and melted (between two Teflon sheets). I also decided to take the easy way out and STENCIL my seagulls. Here the freezer paper stencils are ironed on and the tree tops have been glued. I still need to figure out tree trunks and what to put in the foreground.


Close-up of the plastic tree tops.

.
Wednesday, July 25, 2012
$20 Key Ring
I don't feel like I've been too productive this week. And with the big store anniversary sale next week, things might not improve any time soon. The problem is that I have too many things started and I don't know what to do next.
Tonight I got together with two friends and added beaded fringe to a key ring (actually I still need to add the ring). I'm going to be involved in four quilt show this fall and two craft shows just before Christmas, so I think that I will make more. The key rings are fun. They won't all have beaded fringe, though. That would take a simple $5 item and raise the price too much. Labor intensive.

Tonight I got together with two friends and added beaded fringe to a key ring (actually I still need to add the ring). I'm going to be involved in four quilt show this fall and two craft shows just before Christmas, so I think that I will make more. The key rings are fun. They won't all have beaded fringe, though. That would take a simple $5 item and raise the price too much. Labor intensive.

Thursday, July 19, 2012
Quilted Keyrings
Here is the May 2011 post. For some reason, after I referred back to it in the post "Accessories", it's location was moved to HERE! I guess that's OK, now you don't have to look too far to get the scoop on the methods that I used.


Robin Koehler (Nestlings by Robin) gave a demo to our art quilt group. First, lay a piece of freezer paper shiny side up on the table. Lay a piece of muslin on top of that. Mix white glue and water 1/2 and 1/2. With a sponge brush, wet the entire fabric with the glue mixture. Then add tissue paper pieces, cut or torn, layering and brushing with the glue so you have in essence "decoupaged" the tissue paper onto the muslin. It takes at least overnight to dry. Then you can peel the fabric from the freezer paper. The glue gives the fabric a remarkably tough surface with a sheen.
This time around, I used batiks and I did not cover the entire surface with tissue; I just made patterns. When the fabric was dry, I layered it with batting and plain fabric on the back, then machine quilting in simple stipple patterns. I planned ahead so that I had enough space to trim two 7" x 11" rectangles and four approx. 2" x 2" squares from each quilted piece.

I zig-zagged slightly fuzzy yarn around the edges of the rectangles, then folded up one end 4" and machine stitched the sides together. I folded down the flap 3" and added a button and yarn so that the "wallet" can be closed by wrapping the yarn around the button.

I used a double layer for the keyrings, zig-zagged tightly twice around, hammered a grommet into the corner, then added the key ring. Here is a close-up of the finished keyrings.

Accessories
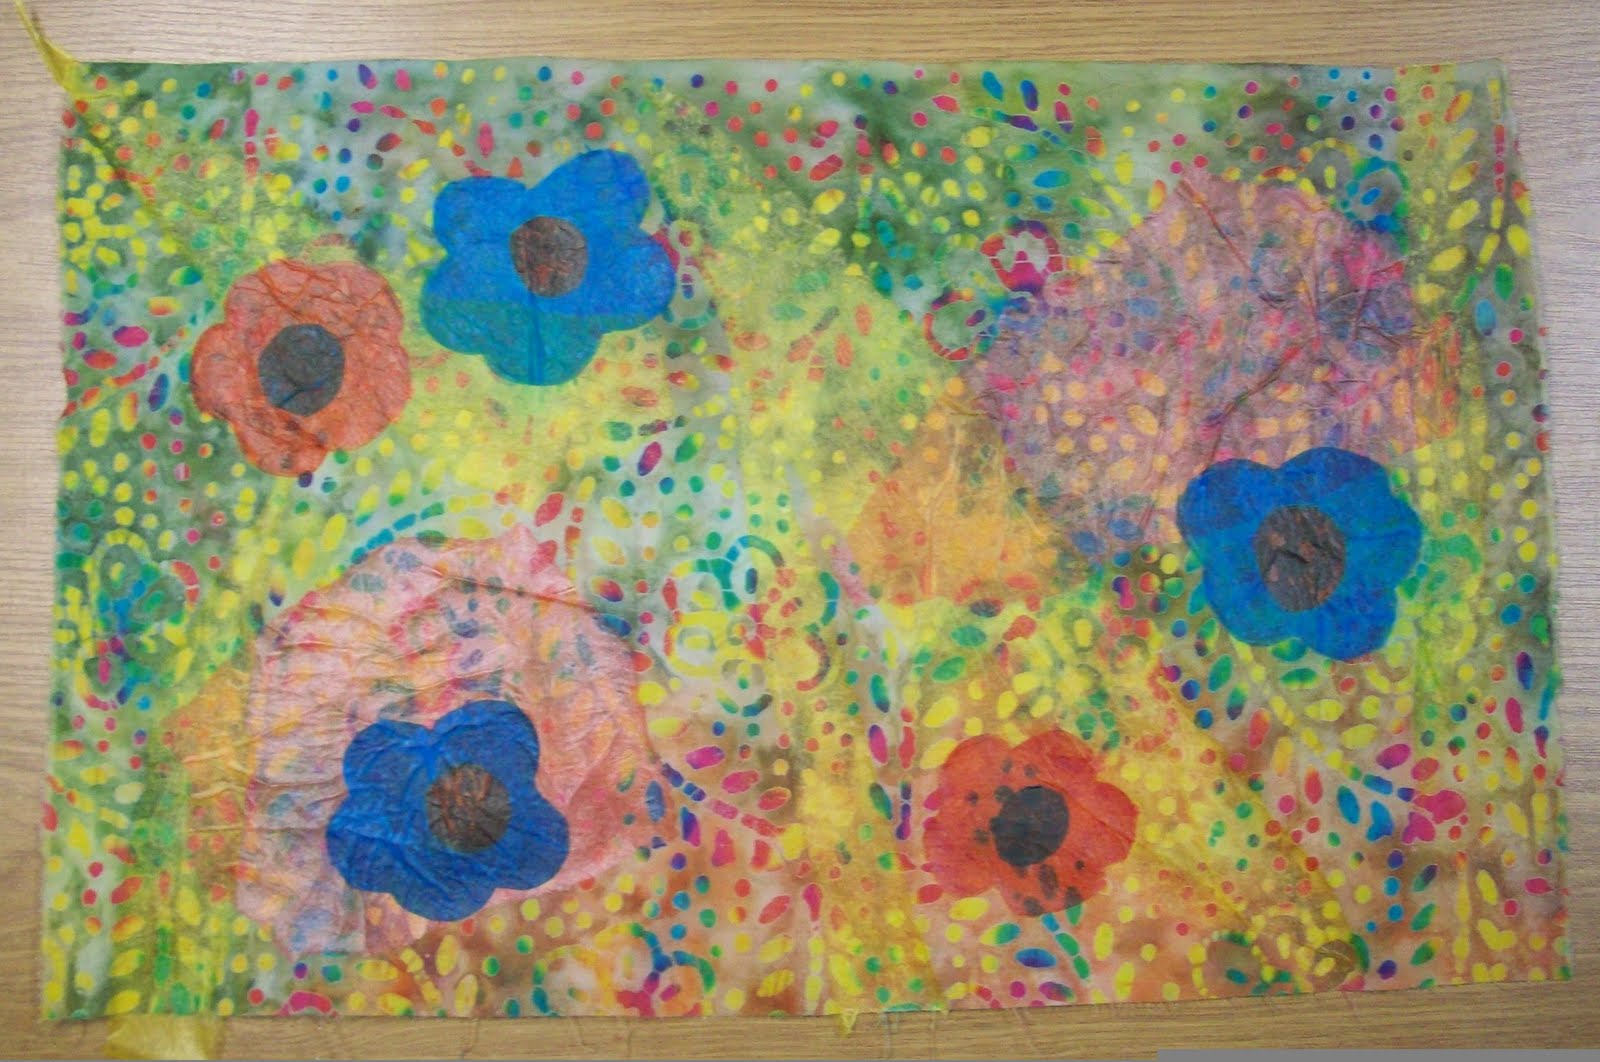
Over a year ago (May 2011), in a post titled "Quilted Keyrings", I described in detail a process of decoupaging tissue paper onto plain fabric. I was in the mood to dabble with that again. Here is what I managed to put together the other night before I ran out of glue. It's pinned up to dry in this picture.
 Today I cut it in half for easier handling, layered it with batting and backing and did a bit of machine quilting. Then I trimmed the pieces to size.


I think this is a fantastic, non-threatening way to practice machine quilting.

In the process of assembling my supplies, I found a second piece that I had prepared earlier, so I quilted it also. I was only able to cut two large pieces, but I made what will become keyrings with some of the scraps.

I need to go on a search now for coordinating yarn and buttons ... then I will show off the finished products.
Yesterday, I was sorting through some boxes on shelves and rediscovered a long lost UFO. It will be a cathedral window purse when complete. I'm making it from memory ... I saw a lady in a restaurant with one. All of the squares are complete, so I just need to finish stitching it together and add a lining. I've been looking for a hand work project, so this will be it!

Stay tuned.
Tuesday, July 17, 2012
In the Mirror
OK, I was bored, so I decided to take a picture of my chest after all. Here's my first bead-weaving project, made into a little pin.


I also figured out that I could hold the camera backwards and see the viewfinder in the mirror. I thought I was having a good hair day, but it doesn't look so hot here!

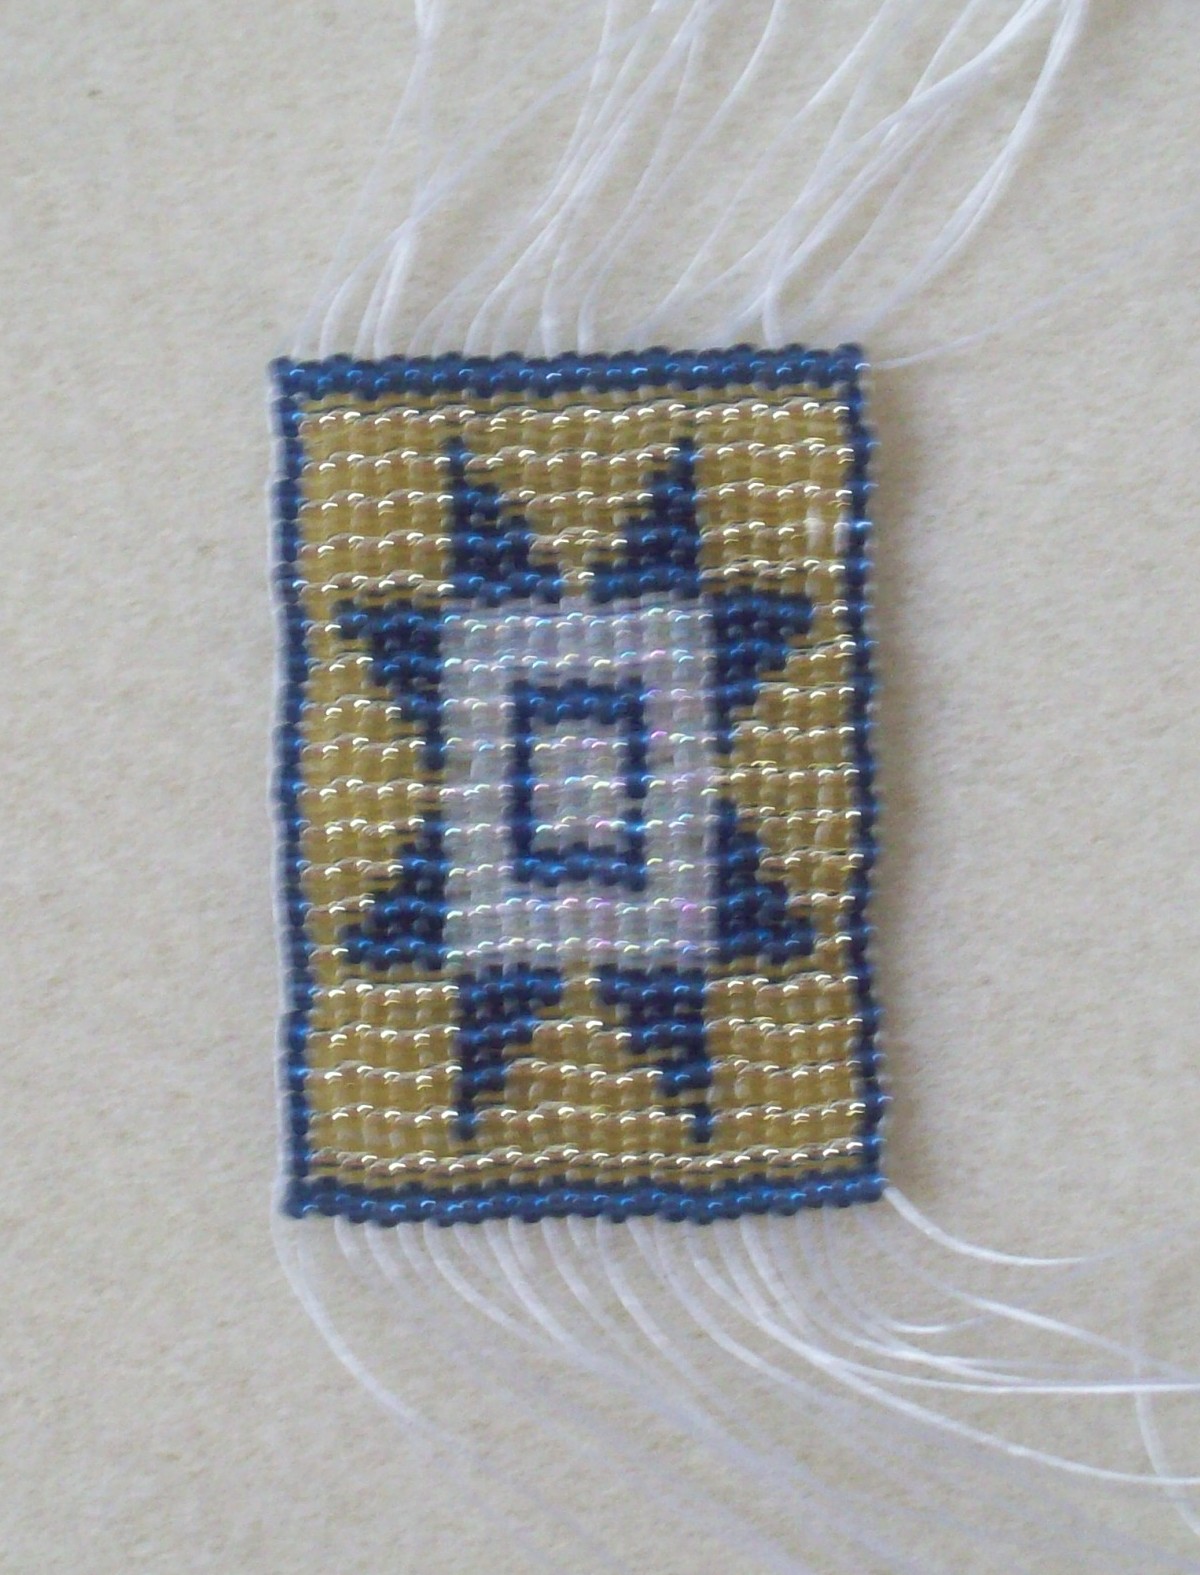
Enough silliness. This morning I finished another little beaded project. Well, the beading is finished, but I have to work in the loose ends. This time I used size 11 seed beads.
The base of my river challenge is also quilted. From a distance it looks about the same.

Here are a couple of detail shots.
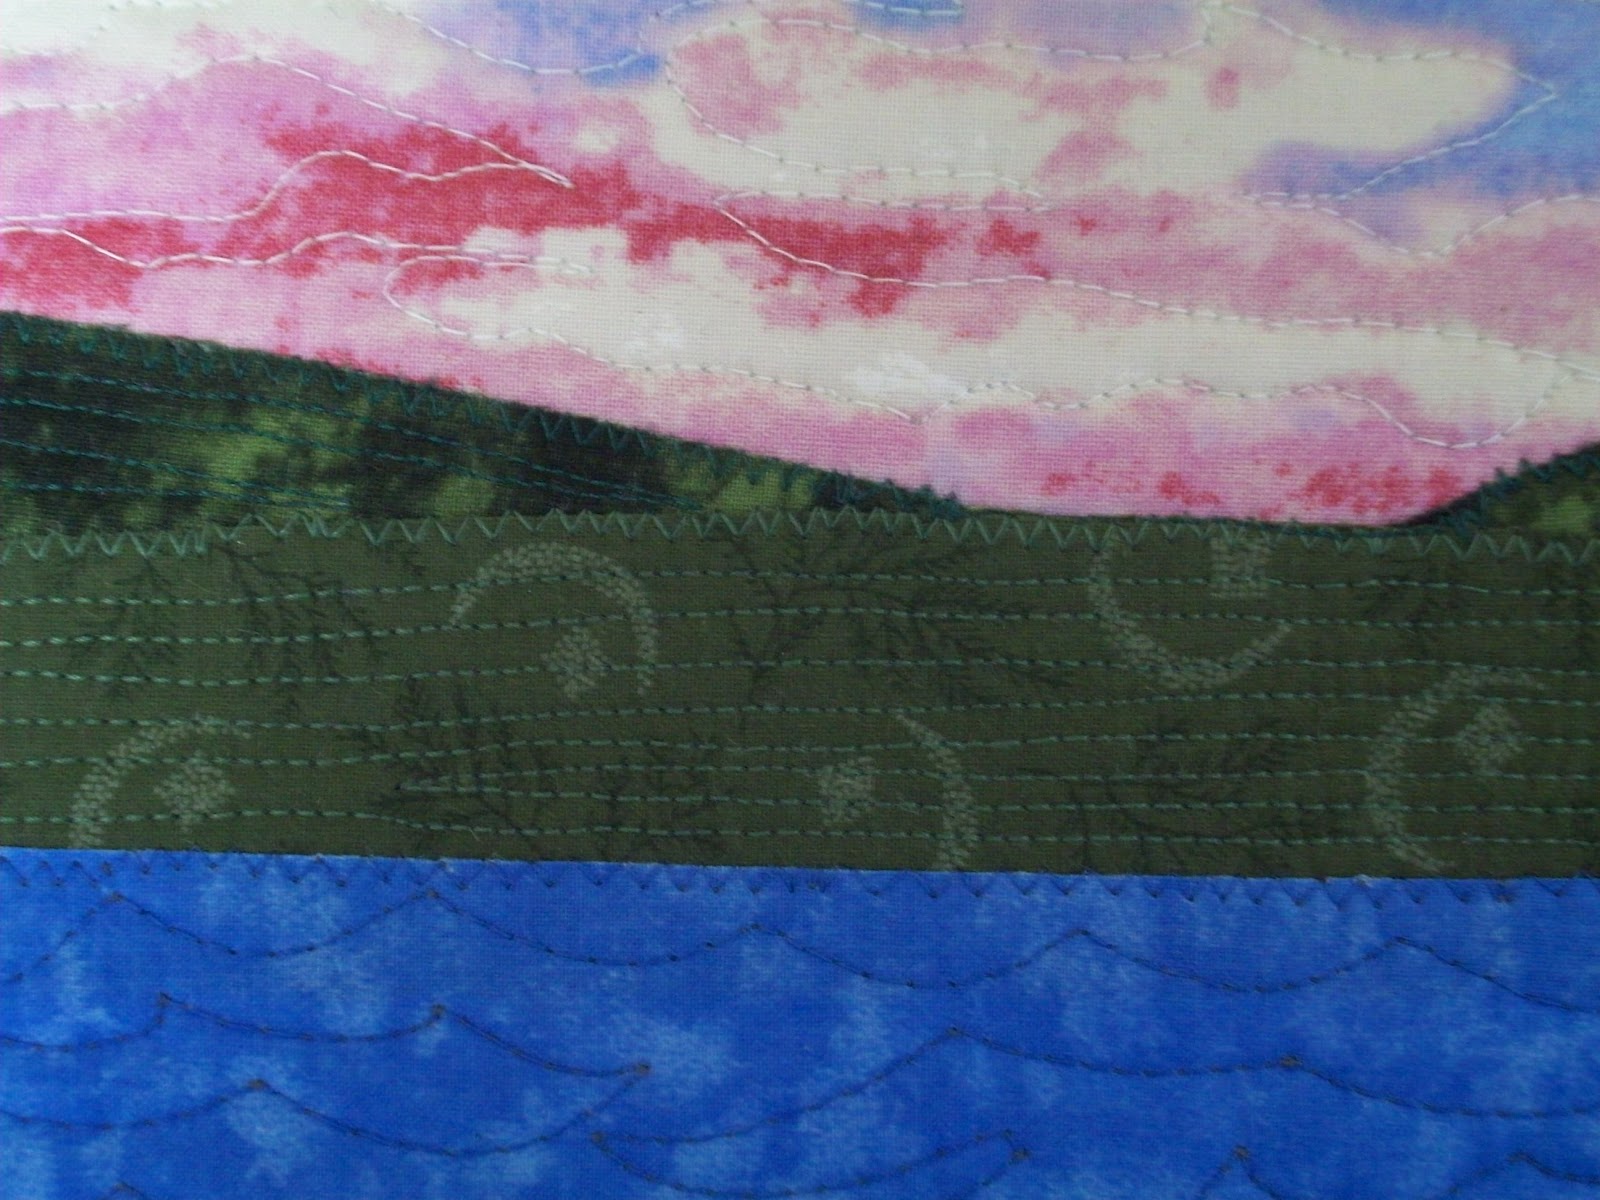

Now I need to add some flora and fauna. I'm not sure yet what methods I want to use. Guess I'll sleep on it.
Monday, July 16, 2012
Along the River
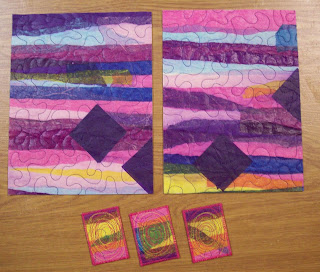
A week or more ago, I showed the beginning of my quilt that I am making for The Pamlico River Quilters Guild quilt show in Sept. I started by cutting a cotton batting base slightly oversized, then selecting a number of fabrics and adding fusible.


Last night, I pulled it out again. I trimmed a little, rearranged a little and came up with this basic design.

At this point, everything is fused, but that's all. Next - a lot of quilting and embellishment.
I wore my little beaded pin on Saturday when I attended a guild meeting in Rocky Mount, NC. I didn't take a picture of my chest, so you will just have to take my word for it that the little, kind of primitive looking pin looked good on my denim jumper. I've started another, slightly larger design.

The first pin was made with delica beads, that are more precisely made than even the nicest seed beads. The delicas are squared off, so they fit tightly together in a woven fabric. Unfortunately ,the delicas were furnished by the instructor and I don't have any of my own. I do have a LOT of seed beads, so I can practice until I get my hands on more of the other beads. Not a problem, I have a LOT of seed beads!
PS. I worked on my selvage blocks all day Sunday and the count is up to 60.
Friday, July 13, 2012
Making a Yarn Bowl
There's a new product from Clover that I have been anxious to try out. They are called Basket Frames and come in a variety of sizes and shapes. This is my first, made with a variegated, hand-dyed wool yarn and it turned out pretty good. I've got the kits in the store now and there is a great Youtube video that shows just how to do it.
 Last weekend I worked on the selvage blocks again. I have about 45 so far, but probably need about twice that many if I am going to make the quilt big enough for the bed. Here is a picture that was shared previously, of four of the blocks finished and trimmed.
 During the past week, I didn't have a bit of time to work on the river challenge. I'll get going on that next week!


Subscribe to:
Comments (Atom)