For no apparent reason, last night I pulled out a pattern for a mobius scarf that I had printed off ages ago. If you are interested, it was from Episode DKNG-406 of "Knitty Gritty" on the DIY Network (back when it had a variety of programing, not just interior decorating, but that is another story).
The project requires 48 inch long circular needles, but luckily, I had ordered them way back when I printed the pattern. I went digging through my drawer of "good yarn" to see if I had anything suitable. I found an interesting yarn named "Acapulco", a blend of wool, acrylic, and viscose (?)
THEN I read through the pattern and didn't quite understand the cast-on method. Youtube fixed me right up. I looked up Cat Bordhi, the knitter featured in the TV episode and watched her. Easy as pie, once you saw it done. So I got started and it was instantly addictive. I already have yarn chosen for a second project. This one is less than half done, but I have enough to show you.
It doesn't look like much yet, but can you see the twist? Think way back to math class when you made mobius strips out of paper. One twist makes it a magical, continuous loop.
I tried to stretch the side a bit so the pattern can be seen.
One last thing - a stitch marker was absolutely required and I didn't have one big enough for size 10 needles, so I got out the bead suitcase (yes, it's grown from cigar boxes and little bags to a suitcase) and made a stitch marker. I had this crazy skull and crossbones bead, so I made the stitch marker in honor of my idol, who wears a skull ring. Sorry it's a little blurry, close up.
We're off to the quilt show tomorrow, so I'll take the knitting along for the motel room.
Wednesday, March 30, 2011
Monday, March 28, 2011
Selvage Flower
We leave Thursday to go to another quilt show as vendors (Eliz. City, NC, http://www.cqlguild.org/) and I should be getting things ready, but I really, really wanted to play with my selvage flower a bit more. Here's where I last left you in the story.
Since then, I've fused and machine blanket-stitched around the basic shapes. Then I got out my little basket of junk and auditioned possible embellishments.
This morning I started the machine quilting. I've gotten to be pretty good at stippling, but want to try other designs. I've just finished quilting in the orange section. I don't know why, but the quilting on my practice/warm-up piece looked better! I think it's still acceptable as long as you don't look too close. I wasn't about to start picking out those little tiny stitches! You see? I think I can get away with it!!
Since then, I've fused and machine blanket-stitched around the basic shapes. Then I got out my little basket of junk and auditioned possible embellishments.
This morning I started the machine quilting. I've gotten to be pretty good at stippling, but want to try other designs. I've just finished quilting in the orange section. I don't know why, but the quilting on my practice/warm-up piece looked better! I think it's still acceptable as long as you don't look too close. I wasn't about to start picking out those little tiny stitches! You see? I think I can get away with it!!
Saturday, March 26, 2011
Mystery Quilt - SOLVED
What a fun day at the store! We were busy, busy, busy and this afternoon was the final meeting of the mystery quilt class. Stephanie was the first one to finish a block.
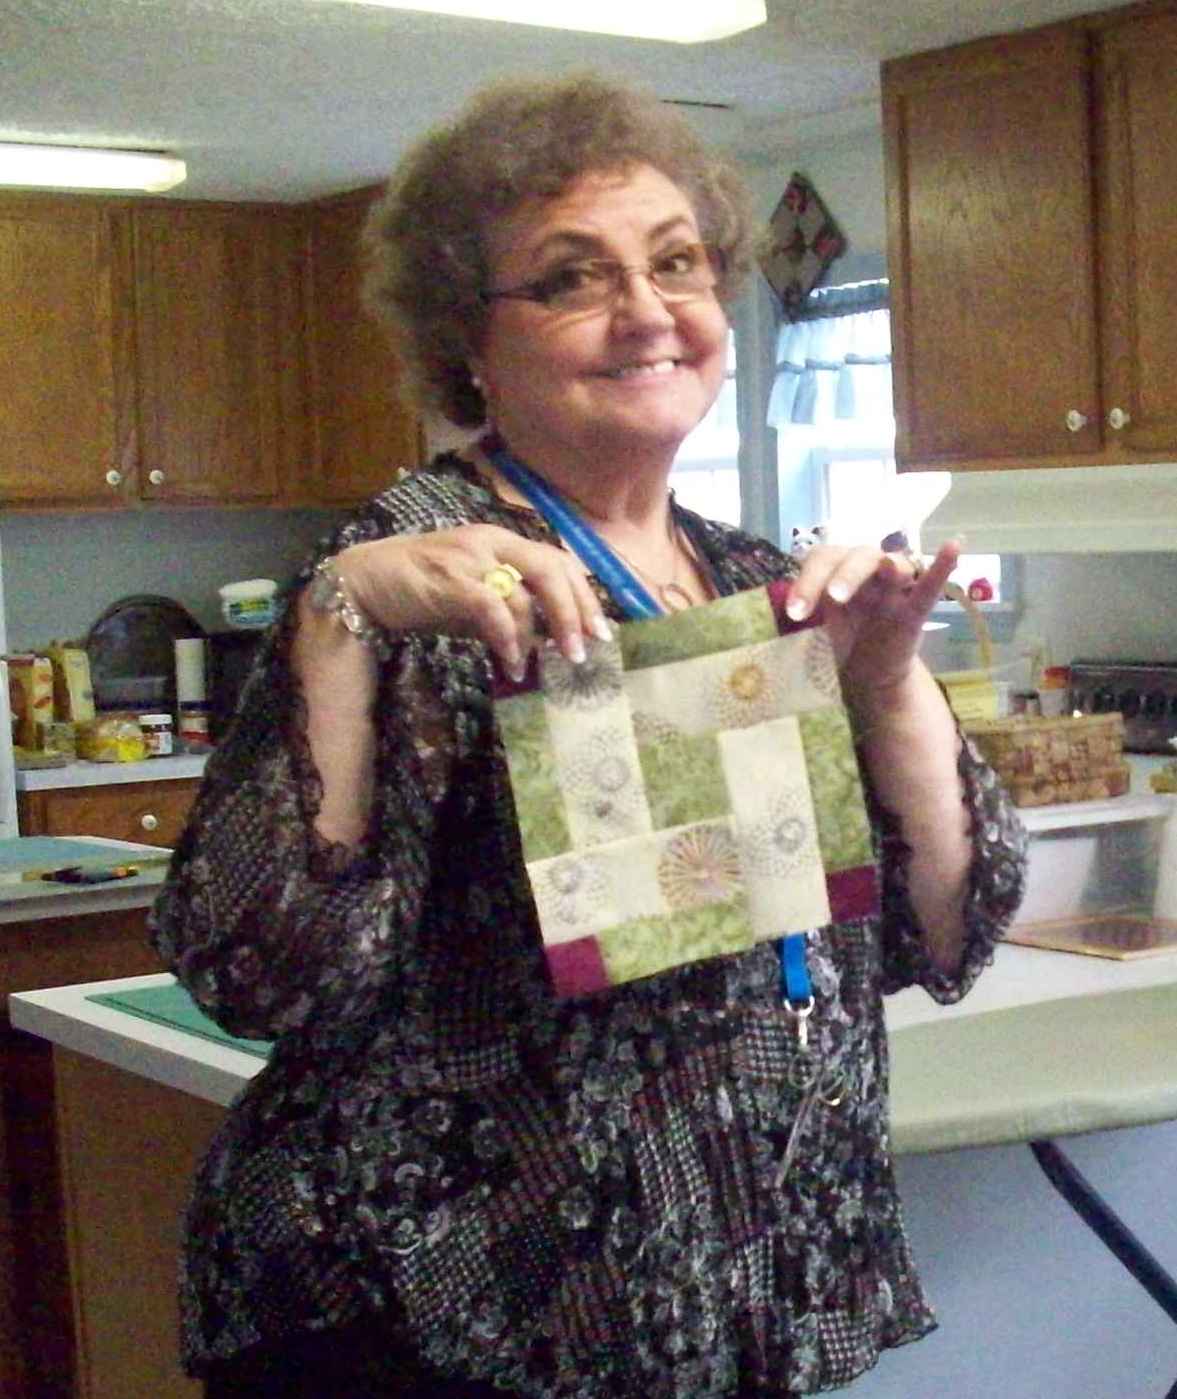
Here are Judy T., Judy S., Mary and Betty Lou with their first blocks.
The mystery pattern won't be a mystery any more! I've decided to name it "Crossroads" and the pattern will be available soon. The girls in the class were very good guinea pigs. Everything fit together the way it was supposed to and we only found one little boo-boo in the cutting instructions. Here is a close-up of the design. I was working along with the students, and have a little work left to do on my top and borders, so I'll be showing it off at least once more at a later date.
Here are Judy T., Judy S., Mary and Betty Lou with their first blocks.
They each had a PILE of blocks finished by the time they went home and several had started sewing the rows together.
Thursday, March 24, 2011
Playing With Selvages (again)
This afternoon I was thinking about some ideas using selvages. You're probably like me: I often imagine things and work them out in my head, but never get around to actually getting started. So, I decided to pull our my raggedy bag of selvages and get something started.
I had been toying with the idea of cutting shapes out of strip-pieced selvage units. Flowers are easy. How about a flower pot, too? Then I went a step further, drew a circle on my base fabric and pieced the selvages around in a circle for my flower.
Next, I went in search of a background fabric. I decided to use a light piece so there is room for some embellishment (maybe some stencilling?) The orange at the bottom was just trimmed from the backing of that quilt that I "should" be binding. It's past bed-time, so I'll have to stop for tonight, but this is what I have so far.
Wednesday, March 23, 2011
Catching Up
Yesterday, Lilly brought back my "Windmills" quilt. I'll be working on the binding tonight and will give everybody another peek once it is finished.
What else have I been doing? Lots and lots of cutting and folding, getting fat quarters ready for the Elizabeth City quilt show on April 1 & 2. Details are on the Colonial Quilt Lover's website: http://www.cqlguild.org/
There is a mystery quilt class in progress,and I obviously can't show that pattern until the class is over. I CAN say that I'm very happy with how the design turned out. Wait and see!
Sometimes, there are just tedious things to do, like sewing on hanging sleeves.
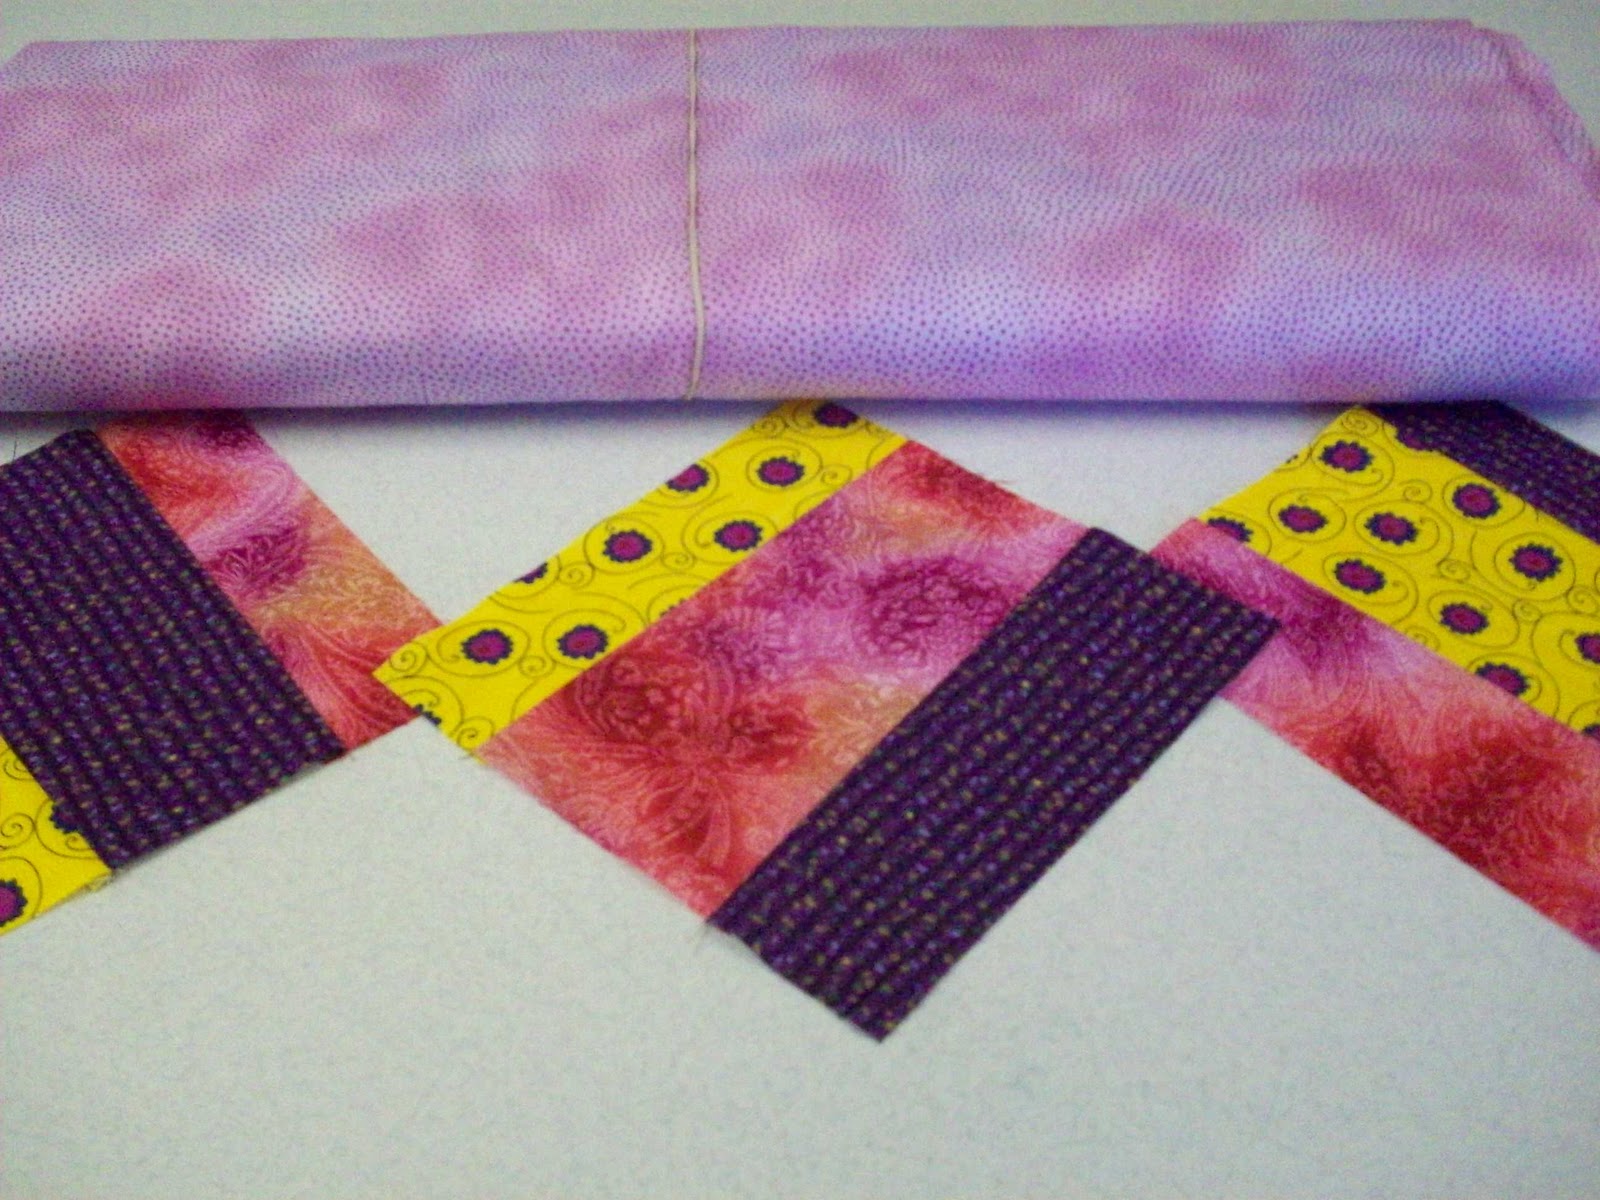
The last thing I can show today is what I'm getting ready for the table runner class on Saturday. Here is my store sample:We'll be making a table runner, using three quilt blocks. The students have been asked to bring three quilt blocks of any design. I'll be showing them how to "do the math" for the triangles. They can make a runner like the one shown or with square ends. I've got some crazy fabric picked out for my demo!
Friday, March 18, 2011
The Bunny - Finished
I really enjoyed working on my bunny quilt. The size ended up 20" x 21".
With my little "Gem Gold", I stitched in the ditch with invisible thread around the bunny, the letters and on both sides of the narrow green strips. (My "big" machine refuses to cooperate with invisible thread, no matter what I do to the tension.) Next, I added big stitch quilting with green pearl cotton. The last step was free-handing a little curved line in the border, inserting a button now and then. Here's a close-up view:
I have classes to teach this week and a quilt show (where we are vending) to get ready for the first weekend in April AND bushels of unfinished projects to work on, but there IS another idea rattling around......
With my little "Gem Gold", I stitched in the ditch with invisible thread around the bunny, the letters and on both sides of the narrow green strips. (My "big" machine refuses to cooperate with invisible thread, no matter what I do to the tension.) Next, I added big stitch quilting with green pearl cotton. The last step was free-handing a little curved line in the border, inserting a button now and then. Here's a close-up view:
I have classes to teach this week and a quilt show (where we are vending) to get ready for the first weekend in April AND bushels of unfinished projects to work on, but there IS another idea rattling around......
Wednesday, March 16, 2011
Dear Jane??
Today was the second meeting of our "Dear Jane" group. Linda had been working on her own for a while before we organized, so she has more than 20 blocks completed. Pat is ready to get started. I made one more block today, this one with curves, so now I have THREE!
Subscribe to:
Posts (Atom)